Expert Guide to Repairing Wall Damage Before Painting: Achieve a Flawless Finish
Preparing your walls for a fresh coat of paint is just as important as the painting itself. Addressing any wall damage beforehand ensures a flawless finish, elevating the overall appearance of your room. At Affinity Coatings, we understand that proper wall preparation is key to achieving the perfect paint job. Our experts are skilled in both repairing wall damage and painting, ensuring top-quality results for your space.
Key Takeaways
- Essential steps for repairing wall damage.
- The impact of thorough preparation on the final paint finish.
Tools Needed for Wall Repair
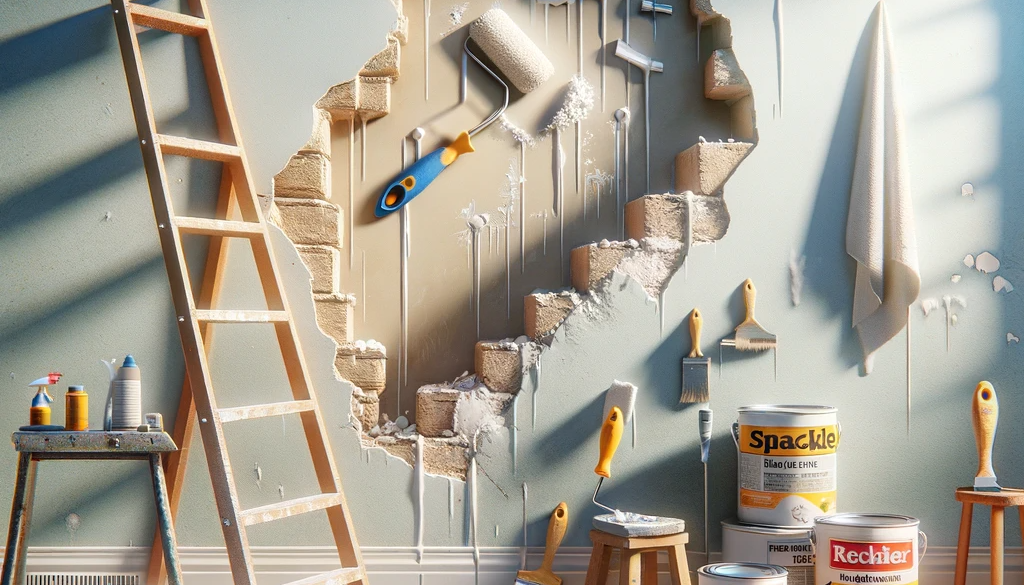
Before you start repairing your walls, it’s important to gather the right tools. You’ll need spackle for small repairs and joint compound for larger ones. Additionally, drywall mesh tape, a putty knife, sandpaper, adjustable pliers, and a utility knife are essential for a smooth repair process.
Removing Nails, Screws, and Wall Anchors
The first step in wall repair is removing any nails, screws, and wall anchors. This ensures a clean surface for repair and painting. Use pliers for nail removal and a utility knife for cutting away brittle wall anchors. Small holes can be smoothed using a putty knife or the tip of the pliers.
How to Fill Holes in Walls
Once the wall is free of fixtures, it’s time to fill any holes. For smaller repairs, spackle is your go-to choice due to its quick drying time and ease of use. For larger holes, however, joint compound is more suitable as it doesn’t shrink as much when drying. Apply the compound with a putty knife, ensuring it’s spread evenly for a smooth finish.
Using Drywall Mesh Tape for Larger Repairs
For repairs larger than about 3 inches in diameter, drywall mesh tape is essential. Place a piece of the tape over the hole, larger than the damaged area. Then, apply joint compound over the tape, requiring 2-3 coats to completely cover the mesh texture. After drying, sand the spot smooth to ensure it blends seamlessly with the wall.
Sealing Torn Drywall Paper
Torn drywall paper needs careful attention. Start by trimming any loose paper and sealing the exposed area with a stain-blocking primer. This prevents moisture absorption from the joint compound. Once the primer dries, apply a thin layer of compound, sanding it down after drying for a smooth surface.
Fixing Nail Pops and Damaged Corners
To fix nail pops, replace the popped nail with a drywall screw and then fill the hole with joint compound. For damaged corners, reshape the metal corner bead with light hammer taps, ensuring it aligns with the wall. Then apply joint compound over the bead and mesh tape, sanding it smooth once dry.
If you’re looking for professional and reliable painting services in Tacoma, don’t hesitate to contact the experts. Visit Tacoma painter for top-quality painting solutions that will transform your space.
Revitalize Your Tacoma Home with Professional Painting Services
Request a free estimate on your painting/coating project


